
1. Log into your account at https://portal.vervefax.com/
2. On the “Fax” page, enter the 10 digit fax destination number in the box next to the flag icon
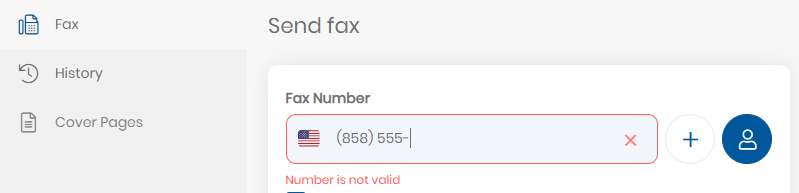
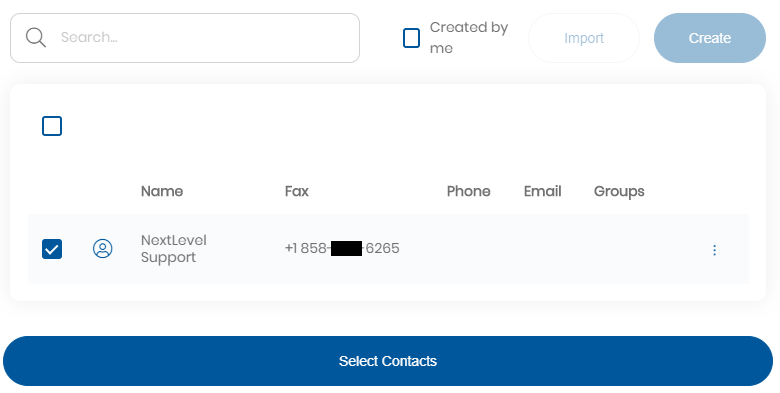
3. You can also use the contact button to select a recipient from your contact list. In this case you do not need to type out the fax number, the system will automatically send to the fax number associated with the contact
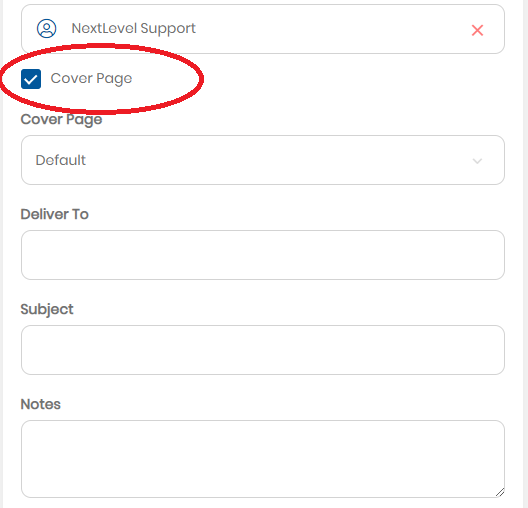
4. You may choose to add a cover page by checking the box that says “include cover page”
a. Use the default cover page, or select one from the drop down
b. Fill in any custom fields that will appear on the cover page (such as “Deliver To”, “Subject” and “Notes”)
c. Other fields in the Cover Page such as “Sender Name”, Sender’s Fax Number, and Recipient Fax Number are completed automatically.
5. Select the file or files you wish to send by drag & drop from your computer, or click to browse files.
a. Attached files will appear on the page, and will be sent in the order attached
b. Drag files up or down to re-order them
6. You may add a tag by clicking the field then selecting an existing one, or by clicking the Blue Plus icon to create a new one.
a. Tags appear in the fax history page as a reference tool.
b. You may choose to create a public or private tag. Public tags are viewable by anyone with access to the fax.
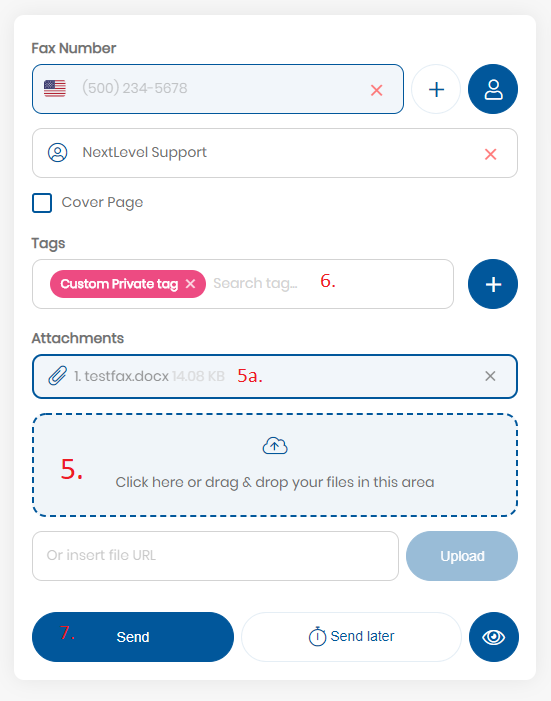
7. Click the Send button. You will see a pop-up notification confirming your fax was sent. You can always check the status of a fax on your Fax History screen.
a. You may first click the Blue Eye icon to preview what the sent fax will look like
b. You may opt to click Send Later button to select a future date and time to send the fax.
Post your comment on this topic.