
Print to Fax is available for Windows 10 programs utilizing windows print drivers.
Create your Print-to-Fax API Key
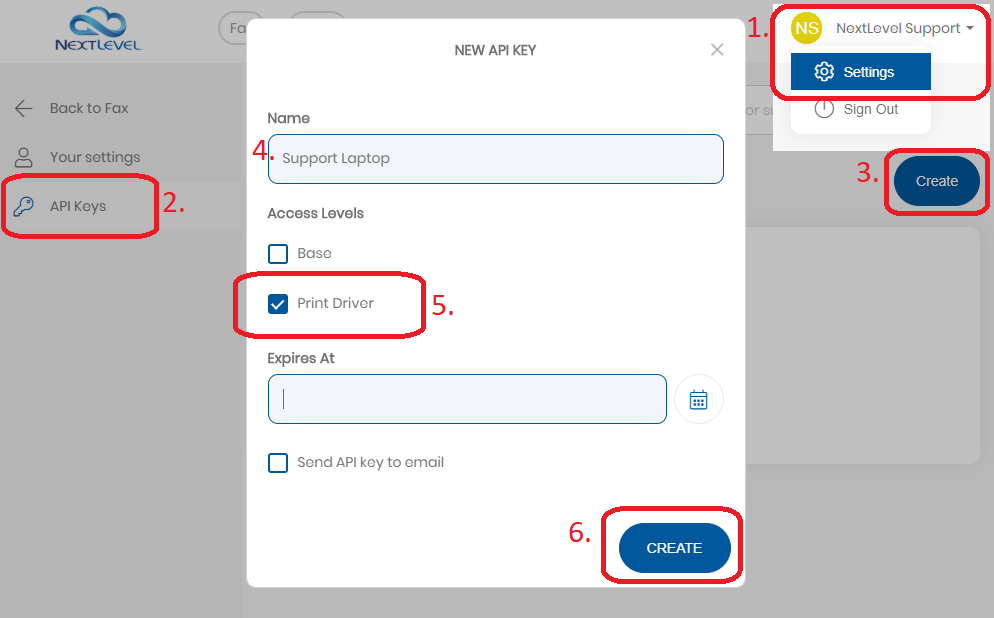
1. Navigate to Settings menu by clicking your username in the top right corner, then clicking “Settings” in the dropdown.
2. Click the “API Keys” tab in the left navigation panel.
3. Click “Create” in the top right
4. Give the key a name to help you identify where it is being used like “John Doe’s Laptop”
5. Check the box next to “Print Driver”
6. Click Create
7. Now, click the “Copy” button in the token field to copy the API key to your clipboard

Installing and configuring the Print-to-Fax Drivers
8. Click here to download the VerveFax Print-to-Fax driver
9. Locate the downloaded .ZIP file, open it, and run the .EXE file inside it. This will launch the Windows installer
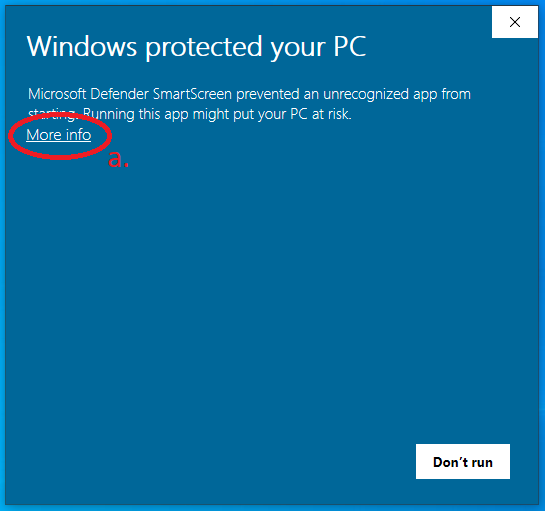
a. If you receive a notification that Windows has prevented an unrecognized app from starting, click “More info”
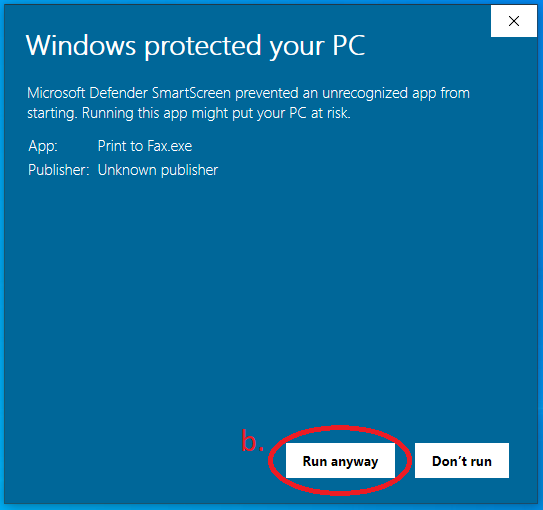
b. Then click “Run anyway”
c. You may require assistance from your Windows Administrator to install the file.
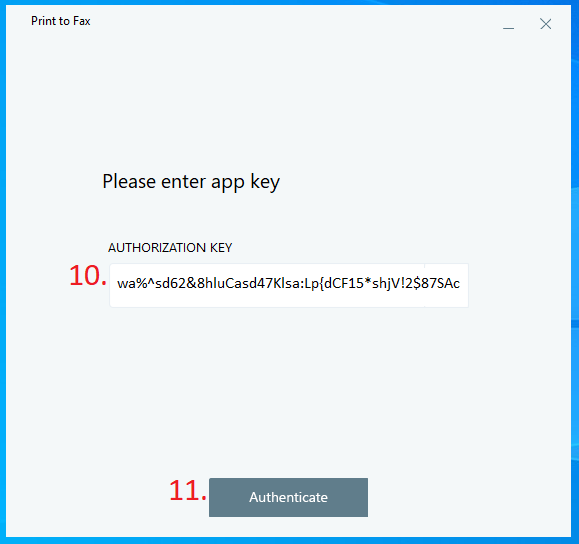
10. When installation is complete you will get a pop-up asking you to enter app key. Paste the copied API Key here
11. Click Authenticate
Using Print-to-Fax
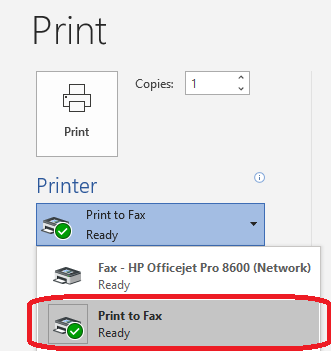
1. Access the Print menu in your app (Usually Ctrl+P or File > Print)
2. Select “Print to Fax” from the options, then click print
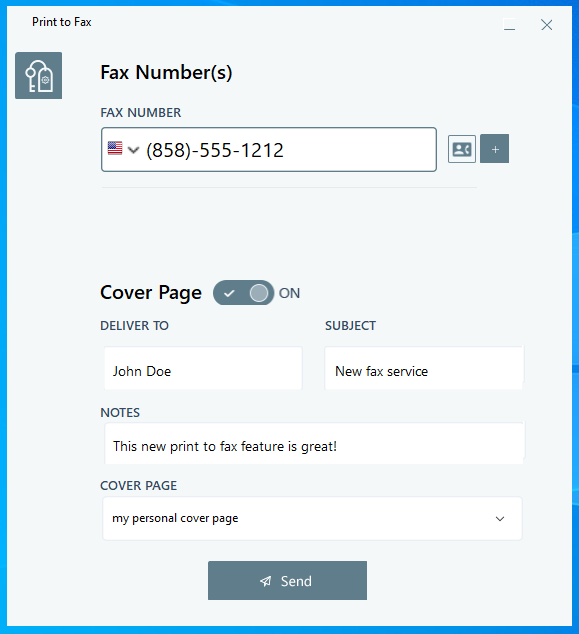
3. A new “Print to fax” box will appear
4. Enter the fax number you would like to send to or select from your contacts
5. Use the Plus button to add additional recipients
6. Toggle “Cover Page” and fill in the options to include a cover page with your fax.
7. Click “Send”
Your fax will be sent directly to the number(s) indicated. You can view the sent fax in your Fax History section of the fax portal.
Post your comment on this topic.